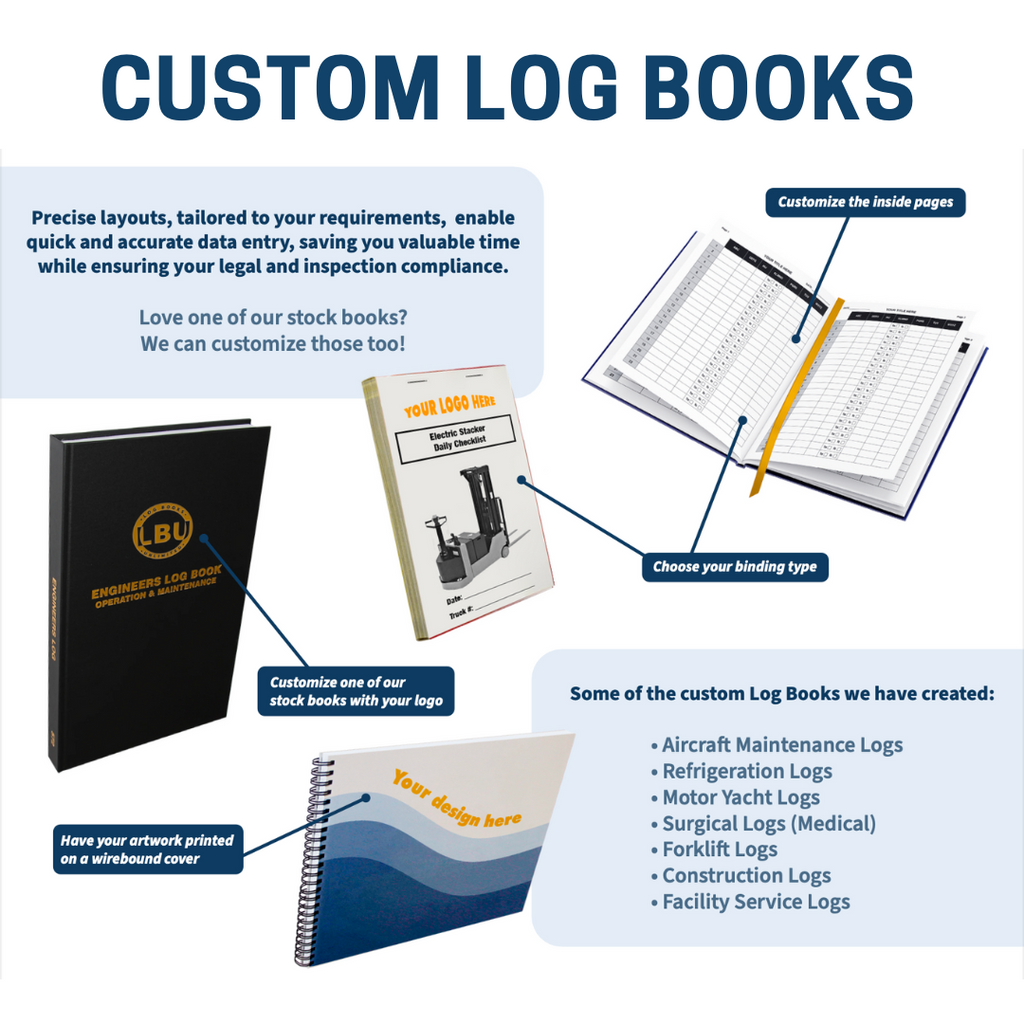
Why Custom Paper Log Books?
In today's digital age, there's something uniquely satisfying about the tactile experience of a well-crafted custom paper log book.
While digital solutions offer convenience, a paper log book brings a sense of permanence and accessibility that electronic devices sometimes lack. Whether you're maintaining heavy machinery, vehicles, or even household systems, a paper log book can be a reliable companion. Let's explore the fascinating journey of creating a personalized log book, from conception to implementation.

Understanding the Purpose
A log book is a vital document used to record activities performed on equipment or systems. It ensures that tasks are systematically tracked, providing a historical record that is crucial for troubleshooting, compliance, safety audits, and extending the lifespan of assets. The tactile nature of a paper log book makes it an accessible and straightforward tool.
Step 1: Planning Your Custom-made Log Book
Before diving into the creation process, it’s essential to plan your log book thoroughly. Consider the following:
Scope:
Determine the specific equipment or systems that the logbook will cover. This could include production machinery, HVAC systems, electrical infrastructure, or any other relevant assets within the facility.
Users:
Identify the key stakeholders who will be utilizing the logbook, such as maintenance technicians, supervisors, operators, or management. Understanding their needs and perspectives will help ensure the logbook design meets their requirements.
Content:
Decide on the type of information that should be recorded in the logbook. This may include maintenance schedules, completed tasks, parts replaced, observations, and any other relevant data points.
Equipment Details:
Capture the make, model, serial number, and key technical specifications for each piece of equipment covered in the logbook. This provides a comprehensive equipment inventory and reference for maintenance activities.
Maintenance Schedule:
Document the service intervals for preventative maintenance, inspections, and other scheduled tasks.
Previous Maintenance Records:
Decide if it’s necessary to incorporate any historical maintenance records for the covered equipment. This could provide valuable context and a baseline for ongoing activities.
Technical Manuals:
Ensure the logbook references all relevant guides, manuals, and documentation provided by the equipment manufacturers.

Step 2: Designing the Layout
The layout of your logbook should be intuitive and simple to navigate. Consider whether you prefer to record one shift per page or multiple shifts per page. Also think about the physical size of the logbook and which binding side works best for your needs.
Here is a suggested structure for your logbook:
Title Page: Clearly states the logbook's purpose, organization, and the date range it covers.
Table of Contents: Provides an index for quick reference.
Equipment Inventory: Lists all covered equipment details (make, model, serial number, etc.).
Maintenance Schedule: Outlines routine tasks and frequencies.
Maintenance Records: The primary section for documenting activities.
Notes and Observations: Space for additional remarks.
Appendix: Includes charts, graphs, and technical manuals.
Step 3: Creating Maintenance Record Templates
The core of your personalized log book is the records section. Each record entry should be clear and comprehensive. A typical maintenance record page usually looks like this:

Here is another simple example of a record. Notice how all of the sections of a custom-made log book are customizable and can be tailored to your personal needs.

Step 4: Choosing Quality Materials
When creating a long-lasting paper logbook, it is essential to use high-quality materials. We provide you with a choice of high-quality paper of a different thickness to make sure that your personal log book can withstand frequent handling and writing.
For the cover, consider using a sturdy cover made from durable materials like tanotex, buckram, milbank, or kivar. These materials will provide added protection and extend the logbook's lifespan. We will ensure that the binding is strong and secure to prevent the pages from falling out over time. For a CaseBound log books, add a personalized foil stamp on the front, back, or both sides of the book to add a touch of luxury and uniqueness.

Step 5: Assembling the Log Book
With your templates designed and materials chosen, it's time to assemble the logbook. Here's what we'll do:
Printing: We will print your designed templates on high-quality paper.
Binding: We will bind the book in your preferred binding type, whether that's CaseBound, Wire Bound, Saddle Stitch, or Wrap Around.
Packing and Shipping: We will carefully pack and ship the complete logbooks to your desired address.
Step 6: Training and Implementation
The next steps are on you. Introduce the log book to your team with a training session. Explain its importance, how to make entries, and the standards for documentation. Emphasize the need for accuracy and detail in each record.
Step 7: Regular Reviews and Updates
A log book is a dynamic document that requires regular updates and reviews. Schedule periodic reviews to ensure entries are up-to-date and to identify any recurring issues. This practice helps maintain the integrity of the log book and ensures that no maintenance task goes undocumented.
Conclusion
Creating a log book is an art that blends meticulous planning, quality craftsmanship, and a deep understanding of maintenance/ recording needs. While it might seem old-fashioned, the reliability and accessibility of a well-made log book make it an invaluable tool.
Have any questions? Get in touch or submit your request via email LBU@logbooks.com


